Bring Tired Furniture Back to Life at Home
Today we dive into DIY repair techniques for wobbly chairs, scratched tables, and sagging sofas, turning weekend effort into lasting comfort and pride. You’ll learn to diagnose problems, choose the right tools, and apply repairs that truly hold. Stabilize joints, erase blemishes, and restore supportive seating with clear, practical guidance and reassuring safety tips. Share your progress in the comments, ask questions, and subscribe for fresh fixes that keep your favorite pieces sturdy, beautiful, and welcoming for everyday living.
Look Closely Before You Lift a Tool
Thoughtful diagnosis saves time, money, and frustration. Before tightening a single screw or opening a glue bottle, learn to read the signs: subtle racking in a chair, the difference between a surface scuff and a through-finish scratch, or cushions collapsing because of failing springs. A few careful tests tell you which fix will last and which shortcut will fail. Photograph everything, note sounds, and mark loose joints so you can correct the true cause, not just the symptom.
Build a Small, Mighty Repair Kit
You do not need a full workshop to make impressive fixes. A focused kit—PVA wood glue, syringes for precise injections, clamps, masking tape, wood filler, color-matching markers, wax and shellac fill sticks, sandpaper from 220 to 600, 0000 steel wool, tack cloths, and a compact respirator—handles most cases. Add upholstery needles, webbing, spring clips, and corner brackets for structural reinforcement. These essentials empower careful, reliable repairs without expensive machinery.
Adhesives and clamps that actually hold
Keep fresh PVA wood glue for most chairs, hide glue for antiques needing reversible work, and a small two-part epoxy for enlarged joints or damaged fibers. Parallel or F-style clamps provide even pressure; a band clamp hugs chair frames safely. Syringes or glue injectors slip adhesive deep into joints without disassembly. Remember: light clamp pressure and clean mating surfaces matter more than brute force. Wipe squeeze-out early and allow a full 24-hour cure for lasting strength.
Surface repair and finishing supplies that blend beautifully
Stock wax fill sticks for shallow scratches, burn-in shellac sticks and a low-heat tool for deeper repairs, and touch-up markers or pigments for color matching. Keep denatured alcohol, mineral spirits, and lacquer thinner for careful compatibility tests. High-grit sandpaper and 0000 steel wool level blends without telegraphing edges. Tack cloth removes dust before you adjust sheen with rubbing compounds or paste wax. With patient layering and gentle buffing, repairs disappear into the surrounding finish.
Upholstery and hardware pieces for strong support
For sofas, keep jute or synthetic webbing, serpentine springs in appropriate gauges, replacement clips, and hog rings. Add corner blocks, screws, and L-brackets for reinforcing frames discreetly. Upholstery needles, heavy-duty thread, and dust cover fabric tidy the underside. A thin furniture-grade plywood panel can help distribute load under cushions. With a modest assortment, you can cure sagging decks, silence squeaks, and stabilize frames without special-order parts or costly shop interventions.
Reglue classic joints for long-term stability
Mortise-and-tenon joints last when surfaces actually meet. Remove loose tenons gently, scrape away softened glue, and test the fit. If the tenon feels sloppy, shim with veneer or apply a reversible consolidant before gluing. Use a slow, even clamp-up sequence to avoid twist, and verify squareness with diagonal measurements. Wipe squeeze-out sparingly to protect surrounding finish. Let the assembly cure undisturbed overnight, resisting the urge to test early or rock the chair prematurely.

Fix stripped screw holes without guesswork
Stuffing holes with toothpicks works in a pinch, but a dowel plug or threaded insert creates reliability. Drill cleanly to accept a hardwood dowel with glue, align grain, and flush-trim once cured. Re-drill pilot holes sized for the screw’s core, not the threads, to prevent splitting. For metal fasteners that loosen repeatedly, consider a threaded insert to distribute loads better. Precision here keeps rails secure through shifting seasons, humidity cycles, and enthusiastic guests.
Erase Scratches and Scars from Tables
Surface blemishes can often vanish with gentle, targeted methods. Begin by identifying finish and depth of damage. Shallow scuffs frequently respond to cleaning, blending, and wax fills; deeper gouges need structural fills, careful leveling, and color layering. The secret is patience: blend edges, match sheen, and stop often to evaluate under varied light. The goal is harmony, not over-refinishing. When done well, your table reads as genuinely cared for rather than obviously patched.

Know the finish, choose the right approach
A quick, careful solvent test informs everything. If alcohol softens the finish, shellac-based repairs blend beautifully; if lacquer thinner bites, lacquer fixes are safest; if neither affects it, oil-based polyurethane likely requires mechanical blending. Verify under strong, raking light. Note color shifts from sun fade; you may need to warm a cool area with toner. Understanding chemistry prevents blushing, adhesion failures, or dull halos, letting your repair merge invisibly into the surrounding surface.
Hide light marks with subtle blending and sheen control
Clean the area first; many smudges are just contaminants sitting on top. For faint scratches, apply a matching touch-up marker, immediately feather with a cotton swab, then lock in with a thin wax or polish. Even a rubbed walnut can darken some light marks on certain finishes. Finally, tune sheen: a soft buff with 0000 steel wool and paste wax can downshift gloss slightly, disguising minor irregularities without telegraphing a repair edge.

Repair deep damage and tricky veneer issues
For gouges cutting through finish into wood or veneer, build depth with burn-in shellac sticks or a stable filler, then shape carefully with a warm knife and block sand lightly. Mimic surrounding grain using pencils or fine pigments before sealing. For lifted veneer, inject glue under the bubble, press with a caul and wax paper, and weight evenly. The artistry lies in layering color gradually and finishing to a sheen that matches the original field.
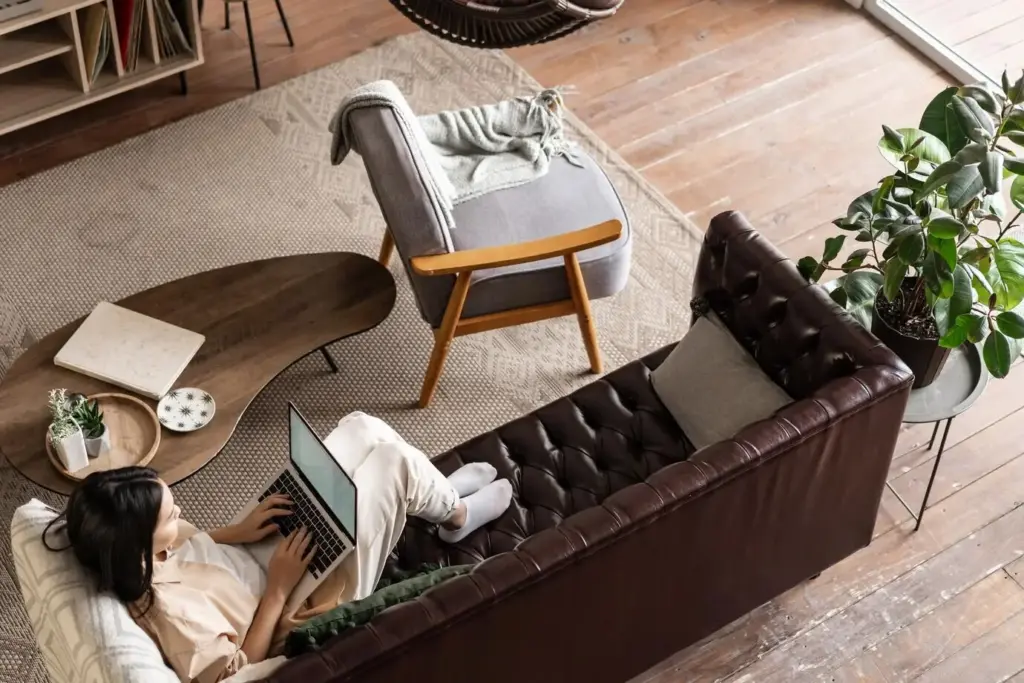
Revive Sagging Sofas Without Replacing Them
Comfort returns when support systems and cushions work together. Start under the deck: webbing stretches with age, serpentine springs can fatigue, and clips fail. Rebuild structure before judging cushion quality, then refresh foam density and wrap to balance plushness and resilience. Inspect frame joints and corner blocks for cracks that telegraph as squeaks. With steady, methodical steps, a sofa that collapsed into the middle becomes supportive again, inviting long reads and relaxed movie nights.


Tell the story behind each repair
People connect with history, not just results. Share how a wobbly heirloom chair became safe for family dinners again, or how a thrifted coffee table’s scratches turned into a proud weekend success. Mention the small stumbles and breakthroughs to encourage newcomers. Your honest notes—what glue you chose, how long clamps stayed on, which color blend finally vanished—can save someone else hours and inspire their first confident attempt.
Ask, answer, and celebrate progress
Use the comments to request advice, offer tips, or cheer someone’s finished project. If a sofa still sags after new webbing, we can troubleshoot foam density or spring layout together. Celebrate every incremental improvement: a quieter joint, a smoother blend, a sturdier frame. Community feedback accelerates learning, turns anxiety into curiosity, and keeps the momentum alive between projects so skills grow steadily with every repair.